Ever noticed how a project schedule can feel more like a suggestion than a plan? One moment, you’re ahead of the game, and the next, an unexpected twist sends timelines scrambling.
Scheduling isn’t just about setting dates and hoping for the best; it’s about creating a roadmap that actually works with the realities of the workday.
Let’s explore how a well-crafted project schedule can go from being a hopeful outline to a powerful, reliable tool for getting things done, even when surprises come up.
What is project scheduling?
Project scheduling is a collective overview of all the tasks, assignees, dependencies, due dates, and milestones. It provides guidance to everyone on the team about how the tasks should be accomplished to reach the project goal.
It is a common document accessible to everyone and helps you decide what should be done, when, and why.
Creating a project schedule is also an important part of task and time management, as without it, it would be difficult to create a timeline for when your tasks should be executed and how much time it should take.
It helps project managers stop bottlenecks in advance, maintain the timeline, and deescalate risks on time.
Benefits of project scheduling in project management
Scheduling a project is a crucial step in accomplishing your project goals. Here is why:
- Scheduling offers a clear timeline with due dates, helps the team stay focused on immediate priorities, and improves visibility in progress
- Project managers can assign resources based on project demands and workload, so there is no overallocation or idle resources, and productivity remains high
- Risk management becomes easier as the project schedule helps in tracking progress, anticipating roadblocks or bottlenecks, and forming contingency plans
- Accountability increases as every team member knows exactly which task to work on, which increases ownership and delivery of quality work
Essential project scheduling techniques
There are multiple tools and techniques to create a project schedule. Some people do it using a basic spreadsheet, but that tool often misses out on some important details. Here are some other project scheduling techniques that can help your project stay on track.
Critical Path Method
Critical Path Method is a critical technique used to create an accurate and realistic plan to manage project schedule. With this method, you can identify the longest sequence of tasks without which the project cannot be completed. These tasks are the most critical to your project’s timely completion.
Example:
Imagine a product launch project with tasks like market research, prototype development, marketing campaigns, and product testing. Using CPM, you identify the critical tasks (e.g., market research and product testing) that must be completed on time to avoid delaying the entire project.
Purpose: It helps teams focus on the most important tasks that impact the project’s finish date.
Use Case: Suitable for projects with complex interdependencies where delays in critical tasks can impact the project timeline.
- Project: Product Launch
- Tasks & Duration:
- Market Research: 5 days (Jan 1 – Jan 5)
- Prototype Development: 10 days (Jan 6 – Jan 15)
- Marketing Campaign: 8 days (Jan 16 – Jan 24)
- Product Testing: 7 days (Jan 25 – Jan 31)
- Critical Path: Market Research ➔ Prototype Development ➔ Product Testing
- Non-Critical Task: Social Media Teasers (Jan 12 – Jan 20)
Work Breakdown Structure (WBS)
WBS is a technique that focuses on breaking down large goals into achievable tasks. The main focus of this technique is on deliverables and how to execute big projects with small, actionable work every day. Depending on your strategy, the WBS can be created in two ways:
- Based on the phases of your project
- Based on the deliverables of the project
Example:
For a software development project, a WBS would break down the project into phases like design, development, testing, and deployment. Each phase is further divided into smaller tasks (e.g., design phase includes user research, wireframes, and UI mockups).
Purpose: Teams can manage large projects by creating small, manageable tasks.
Use Case: Ideal for breaking down complex projects into smaller deliverables to make daily progress measurable.
Project: Software Development
Main Phases & Sub-Tasks:
- Design Phase:
User Research: 4 days (Jan 1 – Jan 4)
Wireframes: 3 days (Jan 5 – Jan 7)
UI Mockups: 5 days (Jan 8 – Jan 12)
- Development Phase:
Backend Setup: 7 days (Jan 13 – Jan 19)
Frontend Development: 10 days (Jan 20 – Jan 30)
- Testing Phase:
Unit Testing: 4 days (Jan 31 – Feb 3)
QA Testing: 5 days (Feb 4 – Feb 8)
- Deployment Phase:
Server Setup: 2 days (Feb 9 – Feb 10)
Launch: 1 day (Feb 11)
Program Evaluation and Breakdown Technique (PERT)
PERT charts are a project management technique that visually lays out all the dependencies between your tasks to accurately schedule and organize them.
These charts are useful when your project has multiple moving parts and the project plan needs to be flexible.
Example:
In a marketing campaign project, a PERT chart can be used to map out dependencies like content creation, ad buying, social media posting, and data analysis. It shows which tasks rely on others (e.g., ads can’t run until content creation is done), allowing for more accurate time estimations.
Purpose: Helps in identifying dependencies and understanding how each task impacts others.
Use Case: Best for projects with uncertain durations or many interdependent tasks requiring flexibility.
- Project: Marketing Campaign
- Tasks, Dependencies & Estimated Durations:
- Content Creation: Optimistic (3 days), Most Likely (5 days), Pessimistic (7 days)
- Ad Buying: Depends on Content Creation, Optimistic (2 days), Most Likely (4 days), Pessimistic (6 days)
- Social Media Posting: Depends on Ad Buying, Optimistic (1 day), Most Likely (2 days), Pessimistic (4 days)
- Data Analysis: Depends on Social Media Posting, Optimistic (2 days), Most Likely (3 days), Pessimistic (5 days)
Gantt Charts
Gantt charts are a popular project scheduling tool that highlights links and dependencies in a project. It is a horizontal bar chart, which gives you a horizontal timeline view of your entire project. The three main components of a Gantt chart are:
- Timeline of the project
- Who is responsible for the tasks
- Status of the project’s progress in relation to the tasks
Example:
A Gantt chart for a construction project might display tasks such as foundation work, framing, electrical wiring, and plumbing. Each task is plotted on a timeline, showing dependencies (e.g., electrical wiring can’t start until framing is done), assignees, and status (e.g., completed, in-progress).
Purpose: Provides a visual overview of the project’s timeline and task dependencies.
Use Case: Suitable for projects where tracking deadlines and task statuses in real time is essential.
Image based on example:
Project: Construction Project Timeline
Tasks, Start and End Dates, Status:
- Foundation Work:
Jan 1 – Jan 10 (Completed)
- Framing:
Jan 11 – Jan 20 (In Progress)
- Electrical Wiring:
Jan 21 – Jan 28 (Not Started)
- Plumbing:
Jan 29 – Feb 5 (Not Started)
- Dependencies:
Electrical Wiring depends on Framing
Plumbing depends on Electrical Wiring
8 steps to schedule a project
To create a project schedule, it is important to know your project goal first. Know why you are taking it up and what it will accomplish. After doing that, a project schedule details how you are going to execute that vision.
Here is the outlay of common steps needed to execute a project schedule:
- Develop a project schedule plan
- Set start and end dates for all tasks and project activities
- Identify task dependencies
- Arrange tasks and activities in chronological order to create a project timeline
- Assess required resources and check resource availability
- Estimate the duration of tasks and activities
- Assign the project schedule management plan to relevant people
- Continuously monitor and adjust the schedule throughout the project lifecycle
These steps to manage project schedule are versatile and can help you put most simple to semi-complex project plans into action. But, if you have a big, complex project on hand, here are two additional steps you should consider adding to your plan.
Define your top-to-bottom approach
Start your project scheduling process by defining the major goals and milestones. Prepare an overarching plan and get it approved by the stakeholders. A top-down approach is instrumental in aligning everyone with the project’s goals.
Cover:
- Start and end date of the project
- Overarching processes and guidelines
- Types of resources needed
Map out all the project activities, bottom-up
After you have a top-down structure, it’s time to get into the nitty-gritty of the project schedule.
“The best way to create a project schedule is to reverse-engineer your tasks from the end goal. Look at your launch date, and slowly move backward to map out all the tasks that need to be done before that. This helps with seeing if your end date is accurate or not and adjust the plan accordingly.” – Komal Shah, Product Owner @ 5day.io
Pro tip: A common practice when creating project schedules is to only consider effort-driven approximate estimates to see how much time each task will take. But including all the people who are going to work on the project during this step will help in setting realistic timelines and promote accountability.
Project scheduling examples for every team
Now that we’ve seen the techniques and steps of project planning and scheduling, let’s look at a detailed example of how a project looks in practice.
Phase | Task | Assigned To | Start Date | End Date | Dependencies | Resources Needed | Status | Notes |
Initiation | Define project scope | Project Manager | 1-Nov-24 | 3-Nov-24 | None | Project documentation | In Progress | Meeting scheduled with stakeholders |
| Identify stakeholders | Project Manager | 3-Nov-24 | 5-Nov-24 | Completion of scope | Communication tools | Not Started | Review stakeholder list post-meeting |
| Develop project objectives | Project Manager | 5-Nov-24 | 7-Nov-24 | Scope and stakeholder input | Project guidelines | Not Started | Objectives aligned with business goals |
Planning | Resource allocation | Operations Lead | 8-Nov-24 | 10-Nov-24 | Objectives finalized | Staff schedules, equipment | Not Started | Coordinate with other project managers |
| Create project timeline | Project Manager | 10-Nov-24 | 12-Nov-24 | Objectives and resources | Project management software | Not Started | Add major milestones and dependencies |
| Risk assessment | Risk Analyst | 12-Nov-24 | 14-Nov-24 | Initial timeline created | Risk analysis tools | Not Started | Identify potential project roadblocks |
Execution | Develop initial deliverables | Dev Team | 15-Nov-24 | 30-Nov-24 | Resource allocation | Software, design assets | Not Started | Weekly check-ins with design and dev teams |
| Conduct quality assurance | QA Team | 1-Dec-24 | 5-Dec-24 | Initial deliverables ready | Testing environment | Not Started | Report findings to the project manager |
| Feedback review and revisions | Dev Team | 6-Dec-24 | 10-Dec-24 | QA approval | Design and dev resources | Not Started | Incorporate feedback from QA and PM |
Monitoring | Progress tracking | Project Manager | Ongoing | Ongoing | Project execution phases | Project management software | In Progress | Weekly updates to stakeholders |
| Budget monitoring | Finance Lead | Ongoing | Ongoing | Cost reports | Financial tracking tools | In Progress | Update budget sheet bi-weekly |
Closing | Final project review | Project Manager | 20-Dec-24 | 22-Dec-24 | Project completion | All relevant documentation | Not Started | Prepare post-mortem report |
| Handover to operations/support | Ops Lead | 22-Dec-24 | 24-Dec-24 | Final review | Handover docs, training files | Not Started | Briefing scheduled for the support team |
| Project wrap-up & documentation | Project Manager | 24-Dec-24 | 26-Dec-24 | Handover complete | Project files, closure forms | Not Started | Archive all project documents |
Top features of a project scheduling software
At the heart of it, project scheduling deals with two main components of a project:
- Task management
- Time management
If these two areas are impacted within a project schedule, all the other areas of project management, like budget, resources, and completion, will also be affected.
To manage that, the top features you need in a project scheduling software are:
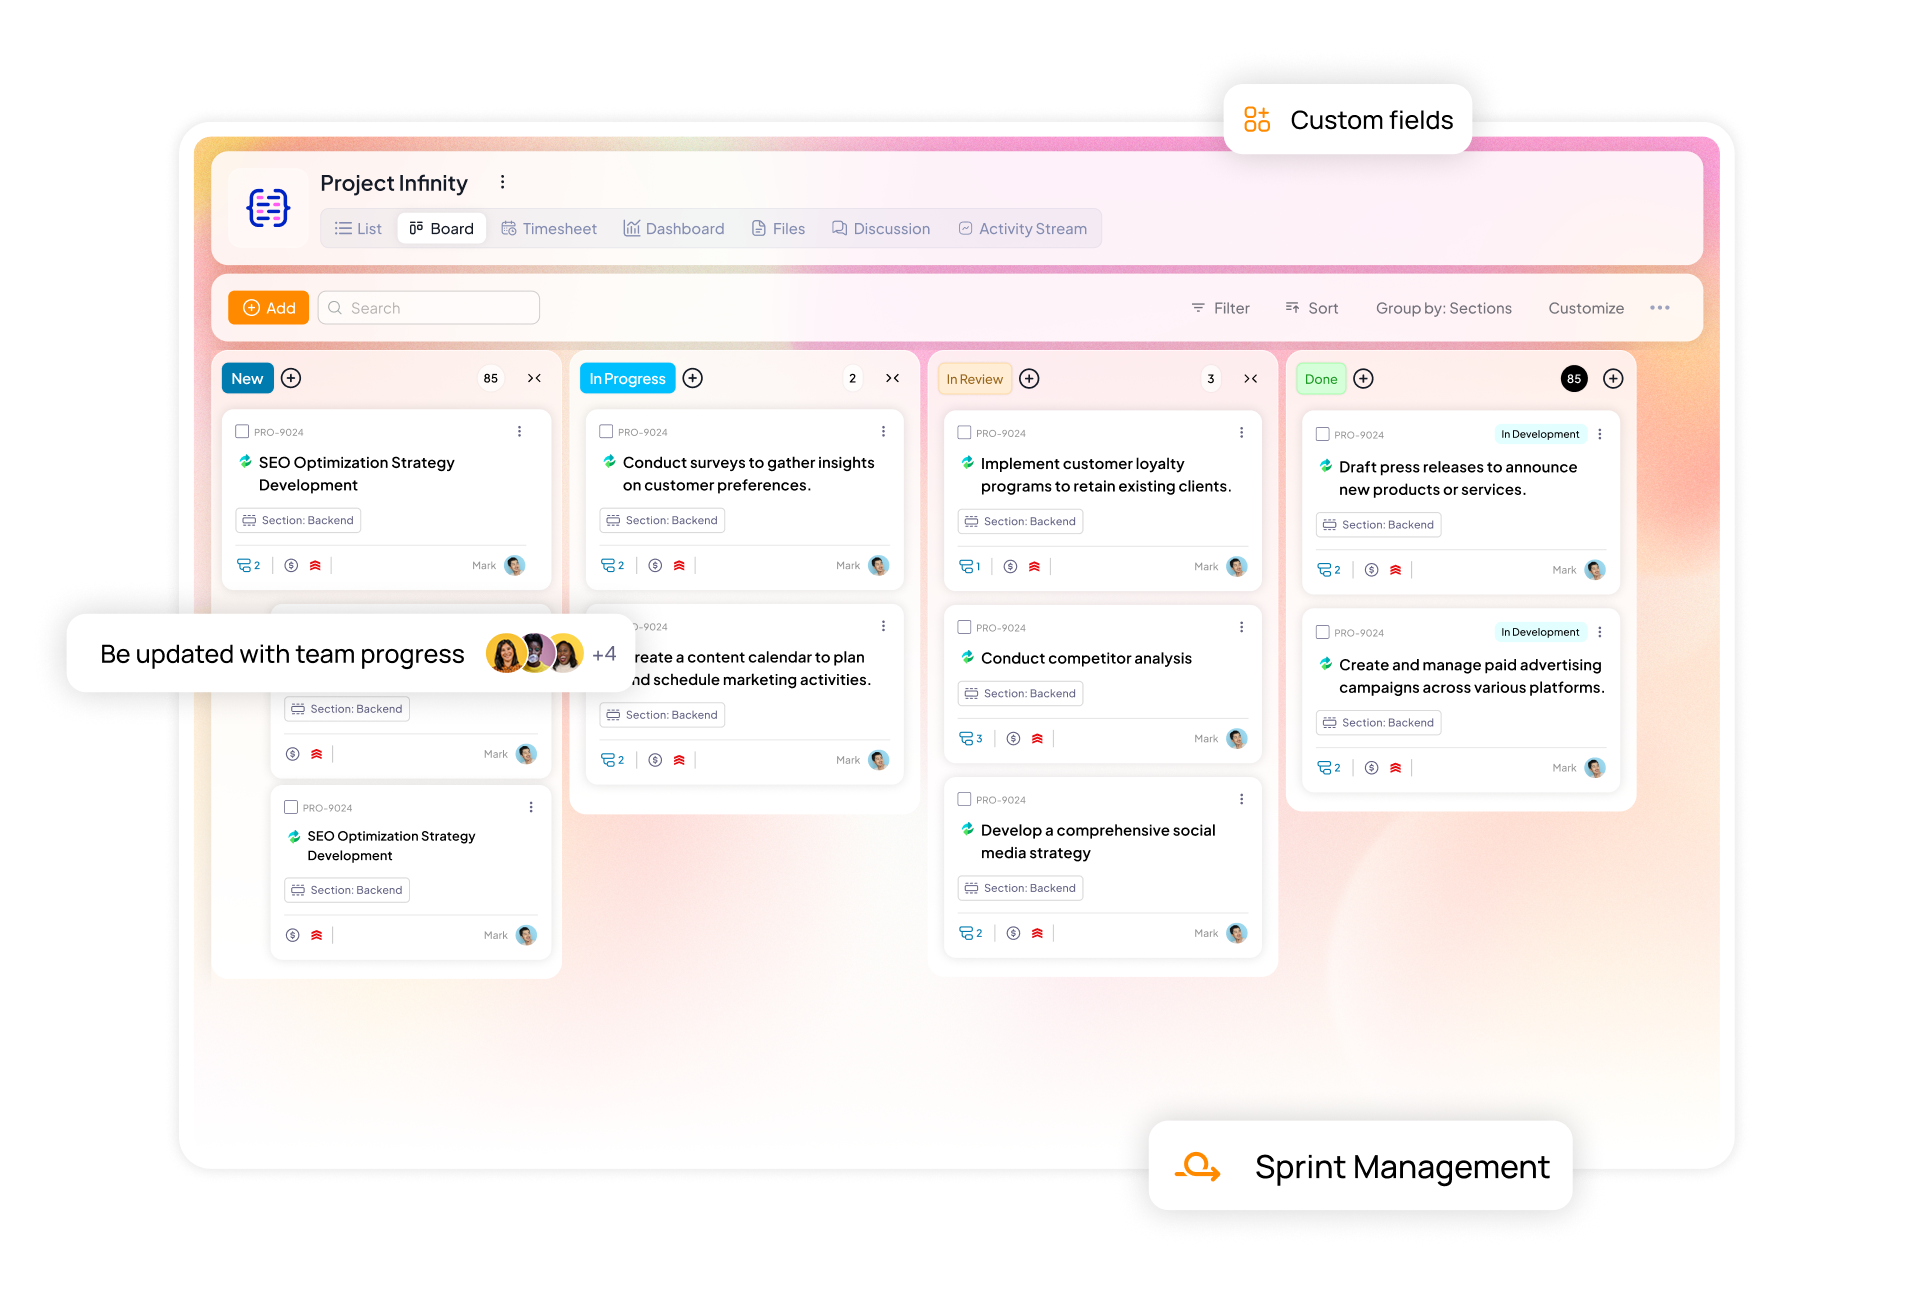
- Intuitive task management: Break down big tasks into manageable chunks, assign them to the right people, add start and due dates, track status and priorities, create custom fields, and know what task is due next.
- Roles and permission: A great way to execute tasks is to assign responsibilities not only based on roles but also by involving each team member in overseeing the progress of their peers’ tasks.
- Notifications and reminders: Know the shifting priorities of tasks and any other changes with timely notifications and set reminders on important work.
- Recurrence: Don’t miss out on important, everyday tasks by setting up a recurrence series.
- Analytics: Create a strong analytics and dashboard to oversee the progress of the project and track bottlenecks before they happen.
Why is 5day.io an ideal project scheduling software for your team
5day.io stands out as an ideal project scheduling tool because it brings together everything teams need to plan, coordinate, and complete projects effectively. Its layout simplifies project management by making task assignment, role customization, and time tracking effortless, all while maintaining clear oversight of deadlines.
Use it to collaborate with your team by communicating with them directly on relevant tasks or projects. 5day.io makes it easy for everyone to stay updated on the project’s progress in real time, which helps teams avoid miscommunication and wasted effort.
Want to see it in action?
Start your 3-month free trial right now.


